
Architectural LED Strip Specification — What Architects Need to Consider

LED strip has become an increasingly important part of residential lighting design.
As the technology has improved, so have the ways we can use it. What was once mainly associated with under-cabinet lighting is now being integrated into ceilings, walls, joinery, shelving, stairs and architectural details throughout the home.
At Wink Lighting, we are using linear LED lighting more and more within our residential projects. Used well, it can create a wonderful contemporary feel, adding softness and depth without filling a ceiling with fittings. It can highlight materials, define architectural lines and provide useful light while allowing the light source itself to almost disappear.
The simplicity of the finished effect can be deceptive, though.
A clean line of light often relies on quite a few decisions being made before the detail is built. The LED strip itself is only one part of the specification. Its position, profile, output, colour temperature, driver, controls and the surface being illuminated all affect the finished result.
For architects and interior designers, some early consideration can make a significant difference.
LED Strip Is Not Just a Product Choice
It can be tempting to start by choosing an LED strip and then deciding where to put it.
We generally approach it the other way around.
First consider what the light is intended to do.
Is it providing useful task lighting? Creating a soft background glow? Highlighting a textured wall? Illuminating shelving? Defining an architectural line?
Once the intention is clear, the specification becomes much easier.
A strip being used beneath kitchen cabinetry has very different requirements to one concealed within a ceiling cove. A detail illuminating stone or textured plaster may need a different position and output to one creating a soft glow within joinery.
The desired effect should lead the specification, rather than the product leading the design.
Where Is the Light Actually Going?
This sounds obvious, but it is one of the most important questions to ask.
With concealed linear lighting, we are often looking at the illuminated surface rather than the light source itself.
That surface might be:
– a wall
– a ceiling
– a kitchen worktop
– the back of a shelf
– a curtain
– stone or timber
– the underside of joinery
– a stair or handrail detail
The distance between the LED and that surface can completely change the result.
Move the strip closer and the light may become more concentrated. Move it further away and the effect can become softer and more even.
Material matters too. Matt plaster behaves differently under light to polished stone, glass or high-gloss cabinetry. Reflective finishes can expose a light source that would be completely concealed against another material.
This is why the architectural detail and lighting specification need to be considered together.
Avoiding Visible Dots and Uneven Light
One of the main reasons for using LED strip is to create a clean, continuous line of light. Visible LED dots generally work against that effect.
There are several ways to achieve a more continuous appearance, including choosing the appropriate LED strip, using a suitable diffuser and allowing enough distance between the light source and diffuser. The depth and proportions of the architectural detail also matter.
If the strip is positioned too close to a surface, individual points of light or uneven illumination may become visible. Reflections can also reveal the LED source unexpectedly, particularly around glass, polished stone and darker high-gloss finishes.
This is an area where a small mock-up can be extremely useful on more detailed projects. It is much easier to adjust a detail before joinery, plasterwork or stone has been completed.

Choosing Colour Temperature
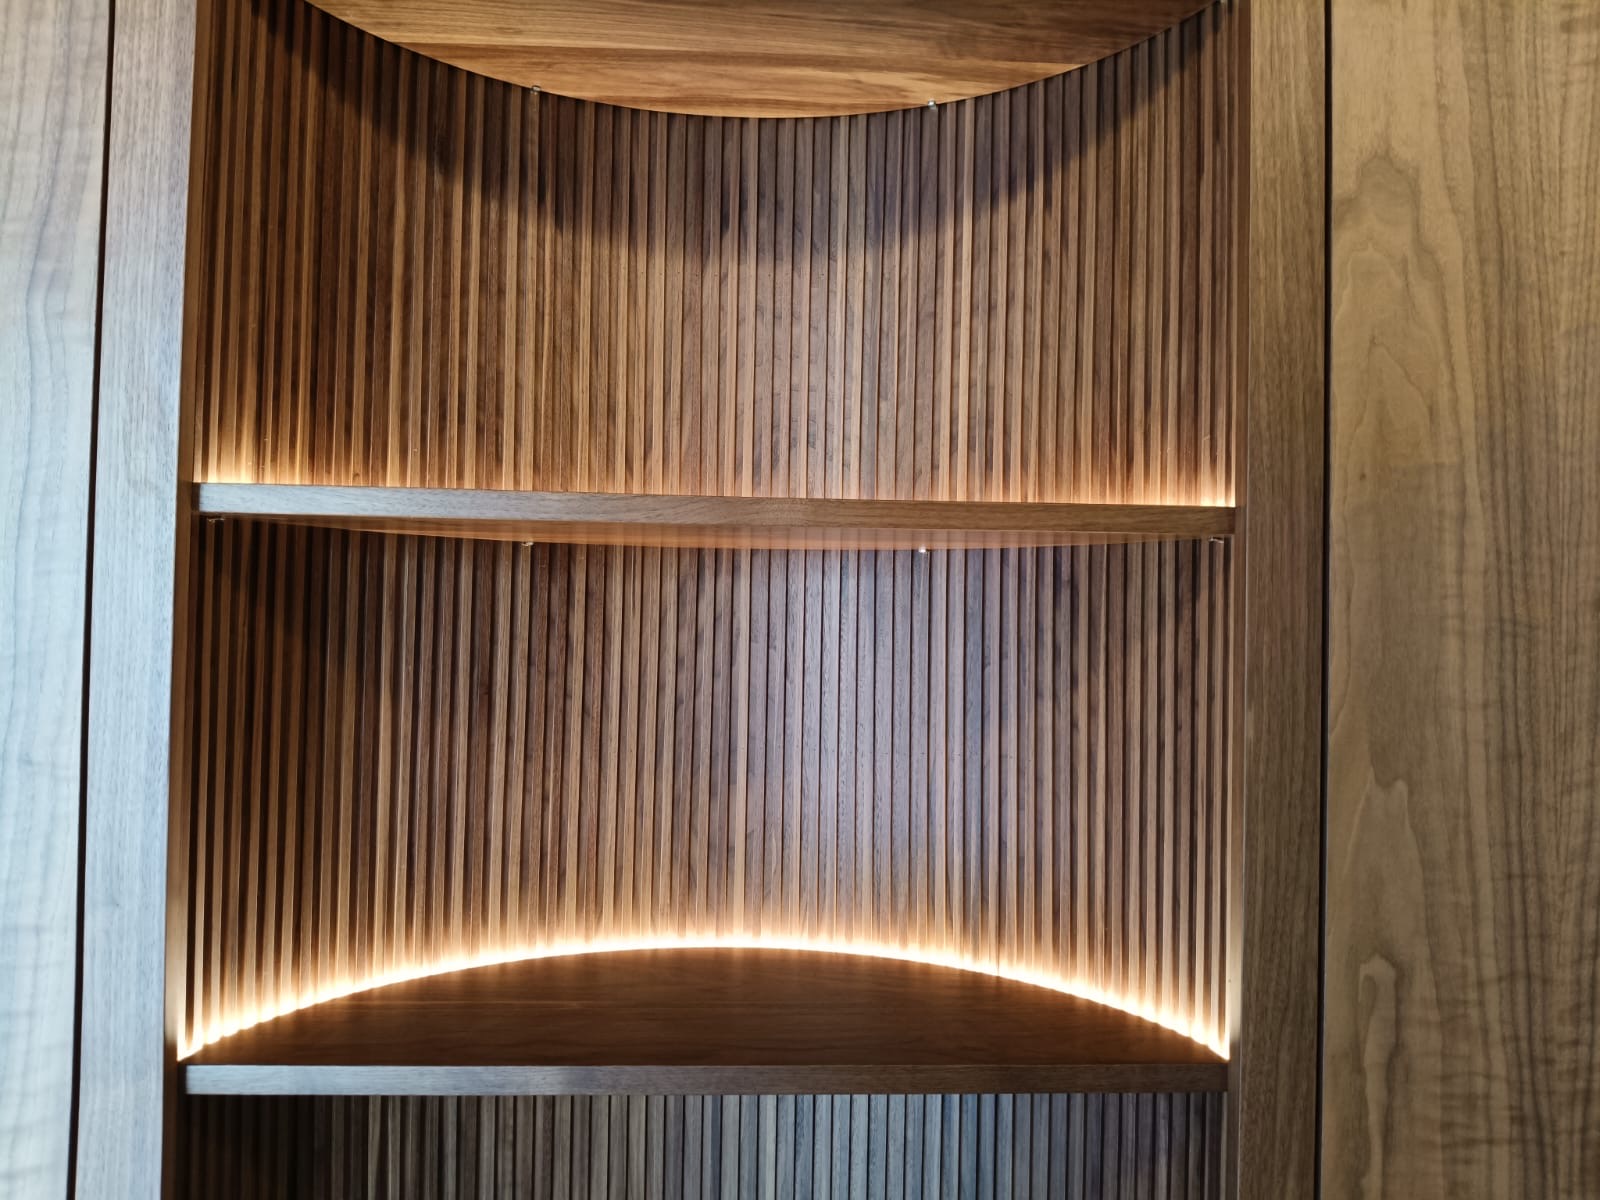
Colour temperature has a major influence on how integrated LED lighting feels within a residential interior. For contemporary residential projects, 2700K and 3000K are both commonly used.
2700K provides a warmer light and can work particularly well in living spaces, bedrooms and interiors where a softer atmosphere is wanted.
3000K feels slightly cleaner and can suit contemporary kitchens, bathrooms and architectural spaces where a crisper appearance is preferred.
There isn’t a universal right answer.
What is important is considering the LED strip alongside the other light sources in the room. An illuminated shelf at 3000K beside downlights at 2700K can create an inconsistency that becomes very noticeable once the lights are dimmed in the evening.
We generally aim for a sense of continuity across the lighting scheme unless there is a deliberate reason to do otherwise.
CRI and Light Quality
Colour Rendering Index, or CRI, describes how accurately a light source renders colours.
For residential interiors, particularly where the lighting is illuminating timber, stone, artwork, fabrics or food preparation areas, good colour rendering is important.
CRI 90+ is generally a good starting point for quality residential lighting, although there are applications where higher colour rendering may be appropriate.
It is worth remembering that LED strip is often being used specifically to highlight a material or finish. The quality of the light should support the material rather than flatten or distort its colour.
Brighter Isn’t Necessarily Better
LED strip is available in a wide range of outputs, but higher output doesn’t automatically mean a better result.
A softly illuminated shelf requires considerably less light than a kitchen worktop.
Similarly, a concealed ceiling detail intended to create atmosphere should not necessarily become one of the brightest elements in the room.
Too much output can make an architectural detail feel harsh and can draw attention to something that was intended to be subtle.
At Wink Lighting, we look at the role each line of light is playing within the wider scheme and specify the output accordingly.
The question isn’t simply “How bright is the LED strip?”
It is “How much light do we need here?”
Profiles and Heat Management
LED strip should generally be installed within an appropriate profile rather than simply attached directly to an architectural surface.
An aluminium profile provides a clean housing for the LED and can accommodate a diffuser, but it also performs another important function: heat management.
LEDs produce less heat than many traditional light sources, but they still generate heat. Managing that heat properly can help maintain performance and extend the life of the LED.
Profiles are available in many forms, including recessed, surface-mounted, corner and plaster-in options.
The profile selected needs to work with the architectural detail as well as the lighting requirement.
Where Does the Driver Go?
This is one of the less glamorous parts of LED specification, but it is important.
LED strip requires a driver, and that driver needs somewhere to live.
Ideally, its location should be considered before ceilings and joinery are finalised.
Drivers need to be:
– accessible
– suitably ventilated
– compatible with the LED strip
– compatible with the intended dimming or control system
Hiding a driver somewhere that cannot be reached may produce a beautifully clean detail initially, but it creates a problem if maintenance is required later.
For long runs of LED strip, driver location can also affect how the system is designed and wired.
A small amount of coordination at design stage can avoid considerable frustration on site.
Dimming and Controls
Integrated LED lighting is particularly effective when it can be adjusted.
A line of light beneath joinery might provide useful illumination during the day and then be dimmed down to create a much softer effect in the evening.
For this to work properly, the LED strip, driver and control system need to be compatible.
Dimming requirements should therefore be considered as part of the original specification rather than added later.
This becomes especially important on projects using more sophisticated lighting control systems or where several types of light source need to dim together consistently.
Getting the Architectural Detail Right
For us, this is where successful linear lighting is often won or lost.
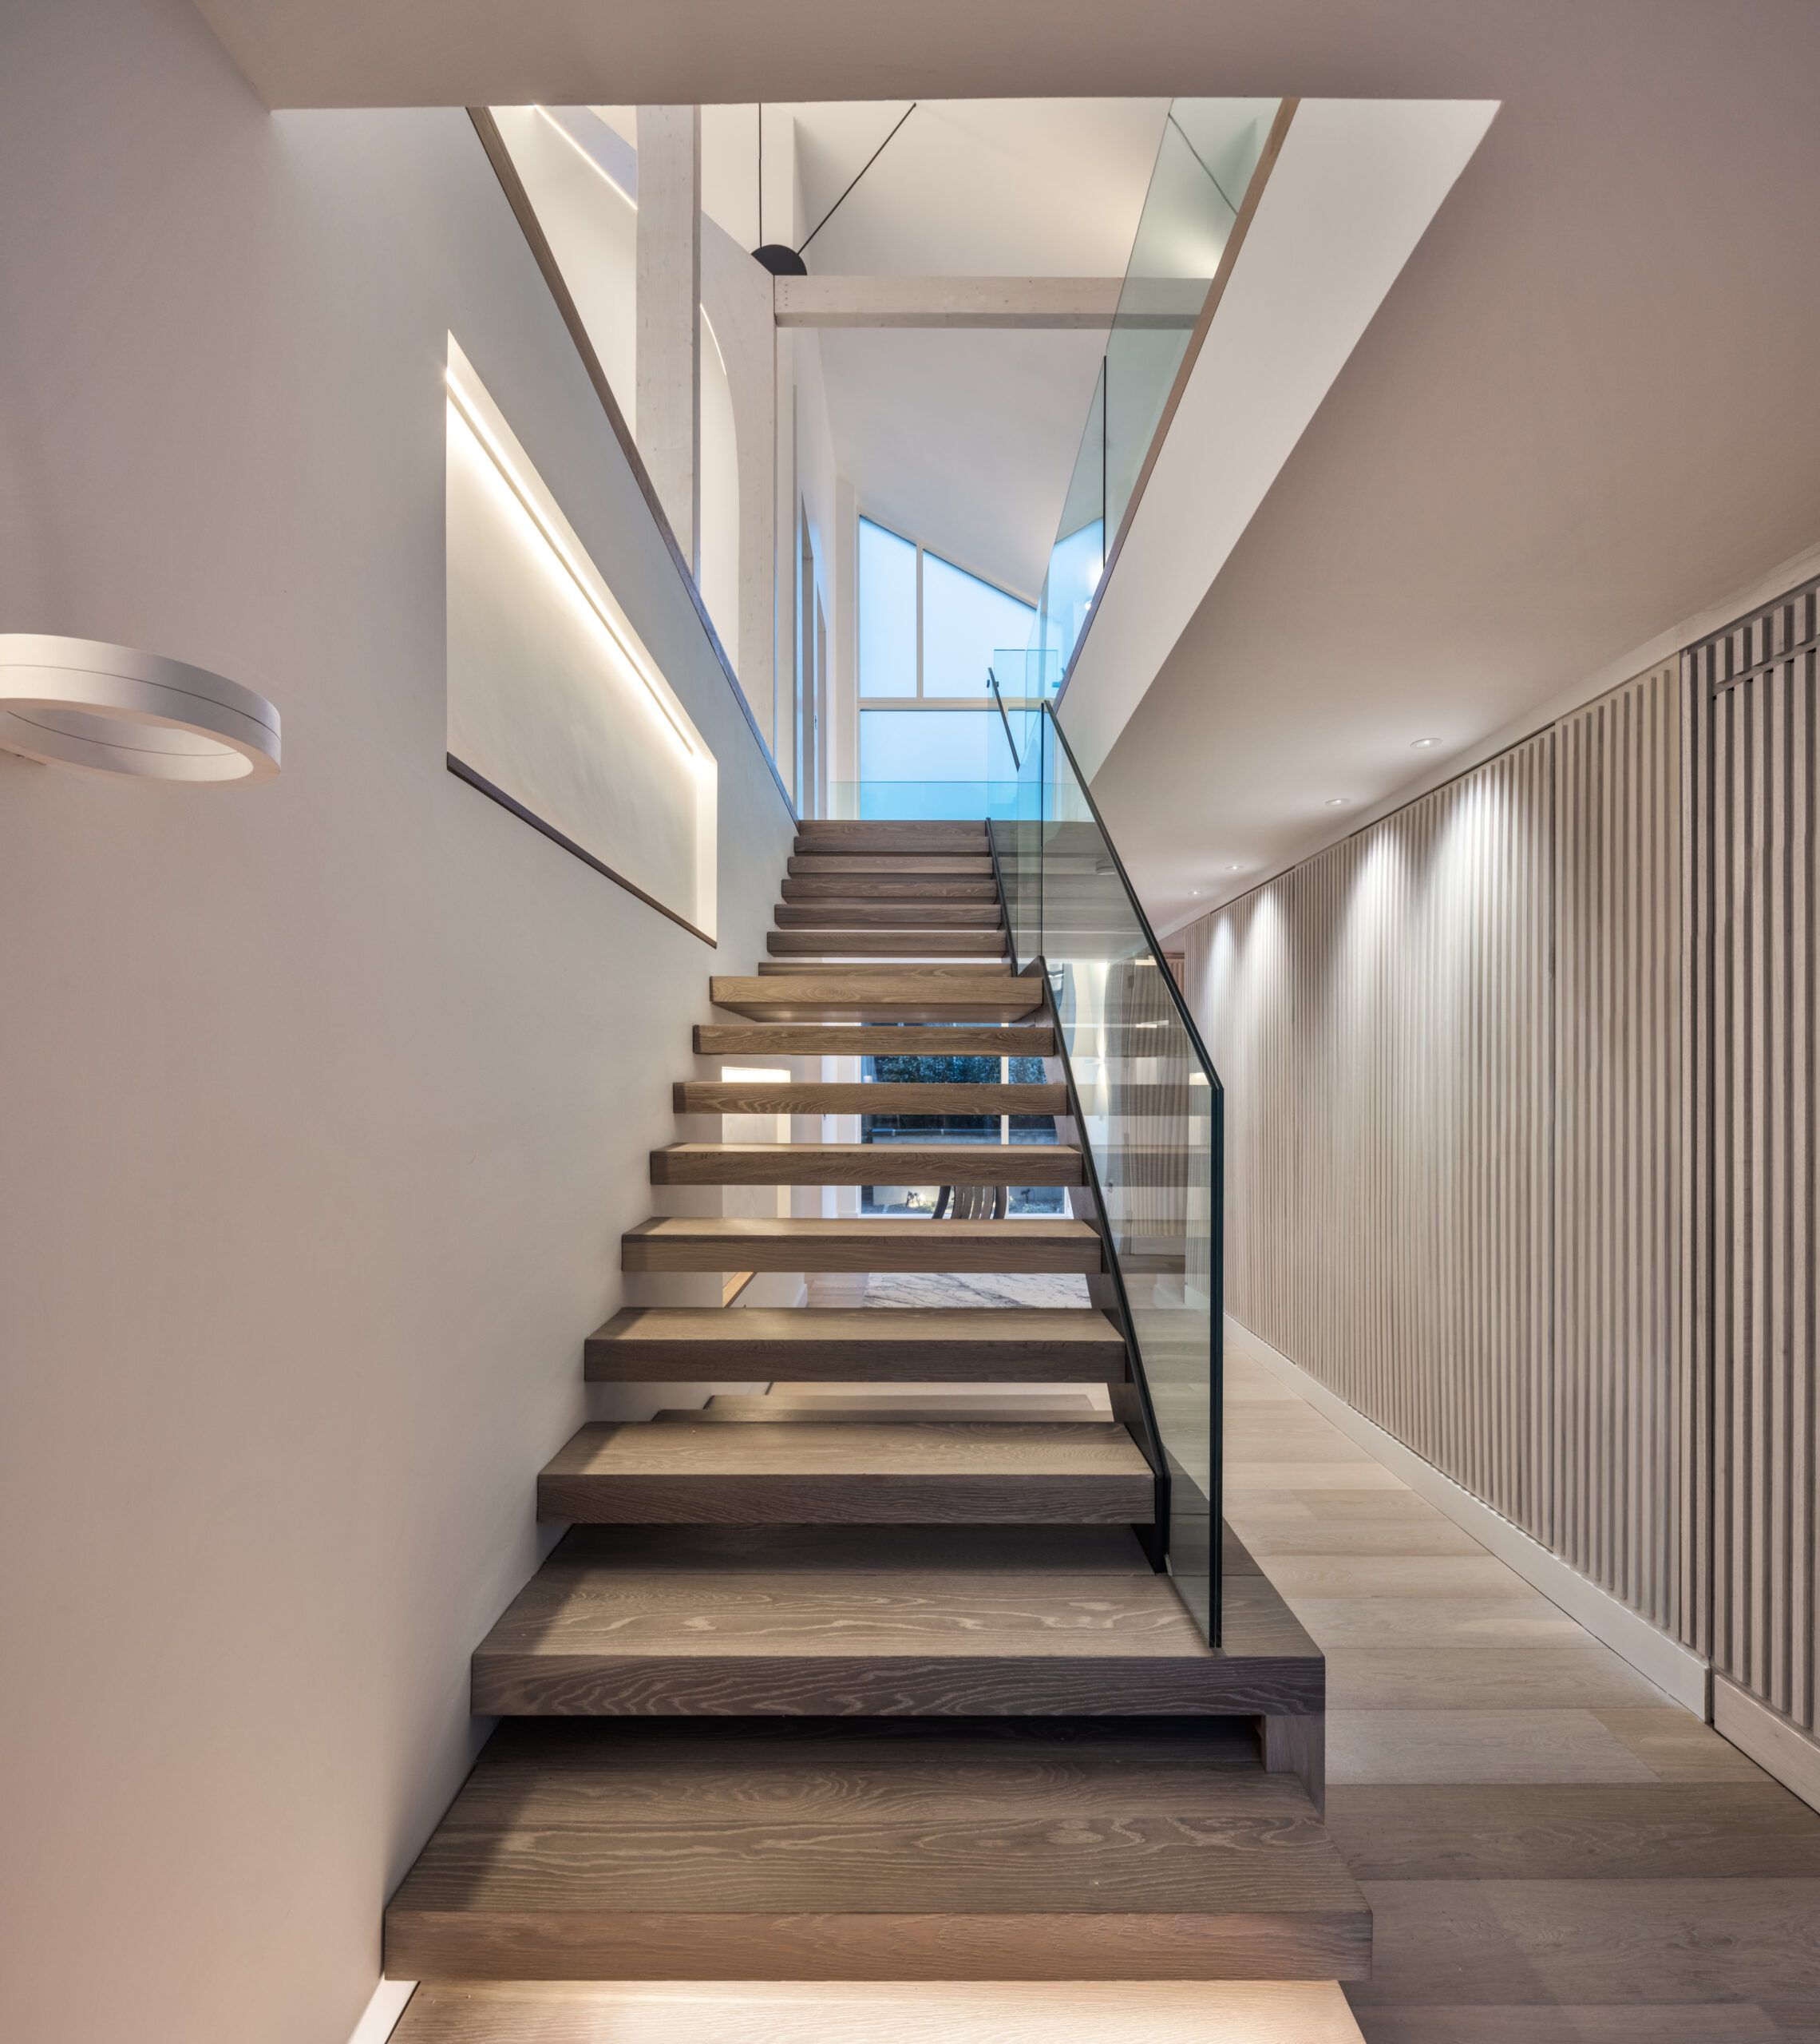
The best integrated lighting details tend to look very simple when finished. You see the light, but not necessarily where it is coming from.
Achieving that simplicity requires coordination.
Recess dimensions, shadow gaps, plaster details, joinery construction, stone thicknesses and access requirements can all affect the lighting.
Even a small change to a detail can alter the way light falls onto a surface.
Where possible, lighting details should therefore be resolved alongside the architectural and interior details rather than added after they have been completed.
It gives everyone — architect, interior designer, lighting designer, joiner and electrical contractor — a clearer understanding of what is being created.
What to Resolve Before Specification
Before finalising an architectural LED strip specification, it is useful to have a few key questions answered.
– What effect are we trying to create?
– What surface are we illuminating?
– Will the LED source or its reflection be visible?
– What colour temperature works with the rest of the lighting scheme?
– How much output is actually required?
– What profile and diffuser will be used?
– Where will the driver be located?
– Will the driver remain accessible?
– How will the lighting be dimmed or controlled?
And, importantly, has the lighting detail been coordinated with the architecture, joinery or finishes around it?
Answering these questions early makes the final product specification much more straightforward.
Final Thoughts
LED strip gives architects and designers enormous flexibility.
It can provide practical task lighting, highlight materials, define architectural elements or simply introduce a soft layer of light into a space. Its increased use in contemporary residential design is understandable — it allows us to create lighting effects that would have been much more difficult to achieve in the past.
But the best results rarely come from the LED strip alone.
They come from considering the light, the detail and the architecture together.
At Wink Lighting, we are increasingly using integrated linear lighting as part of the overall lighting language of a home, rather than as an additional feature. When the detail is resolved properly, the result can feel remarkably simple: you experience the light without necessarily seeing where it comes from.
If you’re developing a residential project where lighting is being integrated into ceilings, joinery or architectural details, Wink Lighting can help develop and specify the lighting alongside the wider design.
